
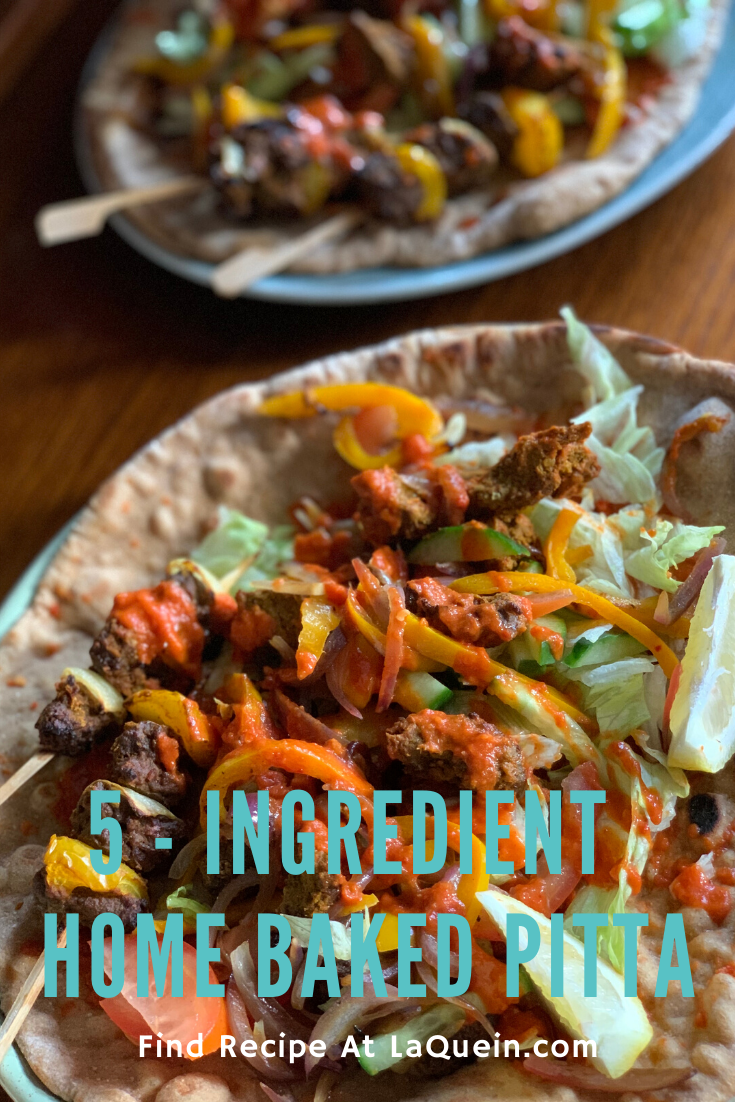
There are moments in every bustling kitchen when the bread bin is unexpectedly empty, and a frantic dash to the supermarket feels like a complete logistical impossibility. When you are deeply immersed in the chaotic rhythm of a busy week, you need reliable, intentional solutions that do not add to your stress.
For me, the ultimate solution has always been this incredibly simple, 5-ingredient pitta bread.
We have all experienced the disappointment of supermarket pitta bread. It is frequently dry, overly dense, and cracks the moment you attempt to open the pocket. Making it from scratch at home, however, feels like an absolute magic trick. Watching a flat disc of dough suddenly puff up into a perfectly hollow balloon on a hot stove never loses its charm, no matter how many times I bake it.
What makes this recipe so remarkably brilliant is its accessibility. It requires absolutely no advanced baking skills and relies entirely on basic ingredients you almost certainly already have sitting in your pantry. Once you master this foundational method, you will never look at a plastic-wrapped supermarket packet in the same way again.
The 5-Ingredient Magic
The beauty of historic, traditional flatbreads is their absolute lack of complexity. You do not need artificial dough conditioners, preservatives, or highly processed additives. You simply need the elemental basics of baking.
This entire recipe is built upon just five core pantry components (excluding water):
1. Plain Flour (All-Purpose): To provide the essential structure and chew.
2. Sugar: To feed the yeast and encourage a rapid, bubbly rise.
3. Fast-Action Yeast: The engine that creates the famous pocket.
4. Fine Sea Salt: Crucial for flavour and controlling the yeast.
5. Olive Oil: To enrich the dough, keeping the interior incredibly soft and pliable.
It is pantry cooking at its absolute finest; a perfect exercise in turning the most basic, inexpensive ingredients into something warm, deeply comforting, and highly functional for the family table.
The Cooking Debate: Oven vs. Stovetop
When it comes to cooking your pitta dough, you essentially have two distinct paths. Both work beautifully, but they yield slightly different textures.
The Oven Method:
You can bake the rolled dough on a baking sheet in the oven for about 5 minutes. The surrounding ambient heat causes the moisture inside the dough to turn into steam instantly, forcing the bread to puff up and create that signature pocket. This method is incredibly efficient if you need to bake a large batch simultaneously.
The Stovetop Skillet Method:
Alternatively, you can cook your pitta bread directly on the stovetop. Adding a drizzle of oil to a hot griddle pan and cooking the dough for 1 to 2 minutes on each side sears the outside beautifully. Allowing it to puff up completely over a medium heat creates a wonderfully soft, pillowy texture that is perfect for stuffing.
If you have the time, I highly recommend exploring both methods to see which texture you prefer most.
The Recipe: 5-Ingredient Home-Baked Pitta (Pita) Bread
Prep Time: 20 mins (plus resting time)
Cook Time: 20 mins
Servings: 6–8 Pittas
The Ingredients
500g plain flour (all-purpose flour), plus extra for dusting
1 tsp dry instant yeast
2 tsp sugar
300 ml warm water
1 tbsp olive oil (plus an extra 2 tbsp for the griddle pan)
1 tsp salt
The Method
1. Activate the Yeast: To make the flatbread dough, first prepare the yeast and sugar together with the warm water in a jug or bowl. Leave to stand for 5 to 10 minutes until the yeast becomes frothy.
2. Bring it Together: In a separate large bowl, add the flour, salt, and 1 tbsp of olive oil. Mix well until the texture becomes crumbly. Slowly pour in the frothy yeast mixture to form a soft dough. Set the bowl aside for 5 minutes while you prepare a clean work surface to knead the dough.
3. Knead the Dough: Sprinkle some extra flour onto your clean work surface. Turn the dough out and knead it for about 10 minutes until it feels soft, smooth, and highly elastic.
4. The First Prove: Sprinkle a little flour into the mixing bowl and transfer the kneaded dough back into it. Cover the bowl tightly with cling film or a warm cloth and place it in a warm spot. Leave it to double in size, which ideally takes 1 hour.
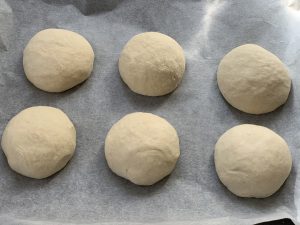
5. Divide and Roll: Remove the risen dough from the bowl and tip it back onto your floured surface. Knead it again for just a few minutes to knock out the air, then shape it into 8 large, equal balls. Using a rolling pin, roll out the balls into circle or oval shapes. Add enough flour during this process to prevent the dough from becoming sticky.
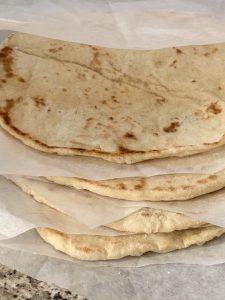
6. To Bake in the Oven: Place 2 or more of the rolled-out pittas onto a baking sheet. Bake for about 5 minutes until they are beautifully puffed up.
7. To Cook on the Stovetop: Add a drizzle of the extra olive oil to a pan. Lay the rolled-out pitta in the pan and cook for about 1 to 2 minutes on both sides. If you want a hollow pocket for stuffing fillings, it is best to allow the pitta to puff up completely like a balloon over a medium heat.
Follow this process to cook the remaining flatbreads, complete by adding your favourite toppings, and serve immediately while wonderfully warm.

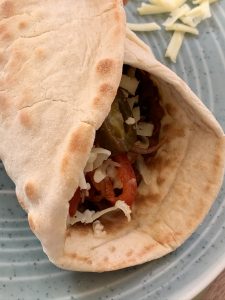

cooked using cast iron skillet 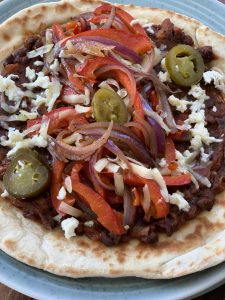
cooked using cast iron skillet 
cooked using cast iron skillet 
cooked using cast iron skillet 
Using griddle pan 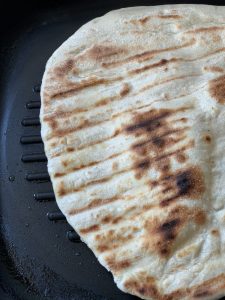
Using griddle pan 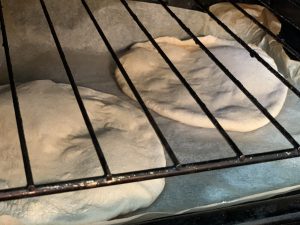

baked in the oven 
baked in the oven 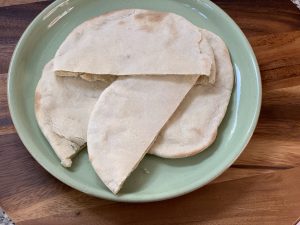
baked in the oven
Yumm my tummy is starving for this lunch I I am gonna make it thanks for sharing
That’s Great! hope you enjoy it😉